Understanding Contouring
Contouring defines facial features by using makeup to create light and shadow. It enhances depth and brings out natural bone structure. The technique uses darker shades to create shadows and lighter shades to highlight areas. This contrast gives the illusion of sharper cheekbones, a slimmer nose, or a more defined jawline.
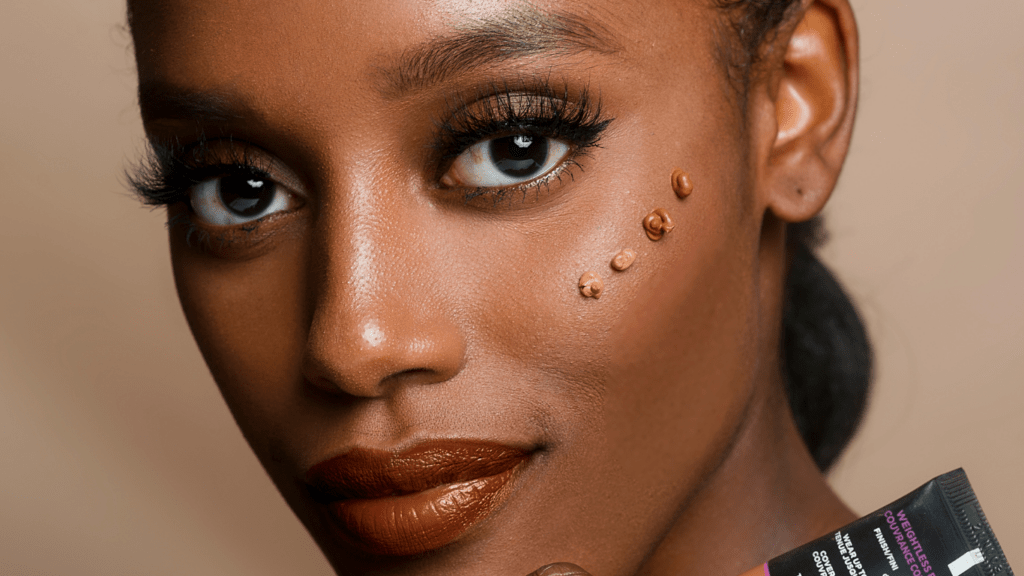
To begin, it’s essential to choose the right products. Contouring products come in various forms like powders, creams, and sticks. Powders suit oily skin, while creams work best for dry skin. I prefer sticks for their precision and blendability. Important shades include a contour shade, typically a few shades darker than your skin tone, and a highlighter that is a couple of shades lighter.
Applying contour and highlighter in the correct places is crucial. For sculpted cheekbones, apply the contour shade just below your cheekbones, starting from the ear and moving towards the middle of the cheek. Use the highlighter on the tops of your cheekbones, the bridge of your nose, and the center of your forehead.
Blending is key to achieving a natural look. Use a blending brush or sponge to gently blend the contour and highlighter into your skin. This removes any harsh lines and ensures a smooth transition between shades. Always blend upwards to lift your face, not downwards which can make it look droopy.
Understanding face shapes is also essential. Different face shapes require different contouring techniques. For example, people with round faces benefit from more pronounced contours on the sides of the face, while those with angular faces might focus on softening their features with contour and highlight.
Practice makes perfect, and with regular practice, anyone can master the art of contouring.
Essential Tools and Products
To contour like a pro, you’ll need the right tools and products.
Brushes and Sponges
High-quality brushes and sponges are essential for precise application and seamless blending. For contouring, use:
- Angled Contour Brush: Perfect for defining cheekbones with its slanted bristles.
- Blending Sponge: Ensures a smooth, natural finish; ideal for cream products.
- Fan Brush: Excellent for applying highlighter to cheekbones and nose bridge.
Contour and Highlight Products
Selecting the right contour and highlight products tailors the look to your skin type and tone. Key products include:
- Contour Powder: Best for oily skin; provides a matte finish.
- Contour Cream: Suitable for dry skin; offers a dewy look.
- Highlight Powder: Ideal for adding shimmer and light reflection.
- Highlight Stick: Convenient for precise application and blending on the go.
Using these tools and products, you’ll achieve professional sculpted cheekbones.
Prepping Your Skin
Preparing the skin lays the foundation for a flawless contour. Follow these steps to ensure your skin’s ready for makeup application.
Cleansing and Moisturizing
First, cleanse your face to remove any dirt or oils. I recommend using a gentle cleanser suitable for your skin type. This step ensures a clean canvas, allowing makeup to adhere better. After cleansing, apply a suitable moisturizer. Moisturizing helps to keep the skin hydrated, preventing makeup from looking cakey or dry. Look for a moisturizer with ingredients like hyaluronic acid or glycerin for added hydration.
Applying Primer
After moisturizing, apply a primer to create a smooth base. Primer helps to minimize pores and ensures makeup lasts longer. Select a primer according to your skin needs, such as mattifying primers for oily skin or hydrating primers for dry skin. Use a small amount, focusing on areas where makeup tends to fade or crease, like the T-zone. This step locks in moisture and provides an ideal surface for contour and foundation.
Mapping Out Your Contour

Knowing your face shape and key facial points is crucial for successful contouring. Each face is unique, so these steps will help you get the best results.
Understanding Face Shapes
First, identify your face shape to tailor your contouring technique. These are the main face shapes, each benefitting from specific contouring styles:
- Oval: Balanced and proportional, best suited for subtle contouring. Apply contour below cheekbones and blend upwards for natural definition.
- Round: Wider, softer features needing angles. Add contour to the sides of the forehead, under cheekbones, and along the jawline.
- Square: Strong jawline and broad forehead. Soften edges by contouring the sides of the forehead and jawline.
- Heart: Wider forehead and narrow chin. Focus contour on the sides of the forehead and under cheekbones.
- Long: Elongated features needing balance. Contour the forehead, below cheekbones, and along the jawline.
Identifying Key Points
Next, locate key points on your face to guide your contouring:
- Cheekbones: Find the hollow under your cheekbone by making a “fish face.” Contour along this line, blending upwards for lift.
- Forehead: Apply contour around the hairline to add dimension, especially for wider foreheads.
- Jawline: Define the jaw by contouring under the jawbone, blending downwards to avoid harsh lines.
- Nose: Create a slimmer nose by contouring along the sides, starting just below the brow bone and blending towards the tip.
By understanding your face shape and pinpointing these key areas, you can contour like a pro and achieve sculpted cheekbones.
Blending Techniques
Proper blending is crucial for achieving natural-looking, sculpted cheekbones. Depending on the tools and methods used, results can vary.
Brush vs. Sponge Methods
Using different tools yields distinct results. Brushes, such as an angled contour brush, offer precision in applying and blending contour products. I prefer a dense, firm bristle brush for powder contours. By using small, circular motions, I blend the product seamlessly into my skin.
Sponges, such as a beauty blending sponge, provide a smooth, airbrushed finish. For cream contours, I dampen the sponge and gently press the product into my skin. This technique ensures even distribution without harsh lines.
Common Blending Mistakes
Several common mistakes can hinder achieving a flawless contour. One issue involves using too much product, making blending more challenging. I recommend starting with a small amount and building up gradually.
Another mistake is not blending enough. Unblended contour lines appear unnatural. I’ve found that investing extra time in blending, regardless of the method, makes a significant difference. Additionally, incorrect blending direction disrupts the natural look. I blend upwards for a lifting effect, focusing on soft, sweeping motions.
By mastering these blending techniques and avoiding common mistakes, anyone can contour like a pro and achieve beautifully sculpted cheekbones.
Finishing Touches
Final steps ensure your sculpted cheekbones last all day. Attention to detail helps refine and perfect the contour.
Setting Your Contour
Setting your contour locks in the look. I use a translucent setting powder, gently pressing it onto skin with a damp makeup sponge. This technique not only sets the contour but also blurs imperfections. I focus on areas prone to oiliness like the T-zone, which helps maintain a matte finish.
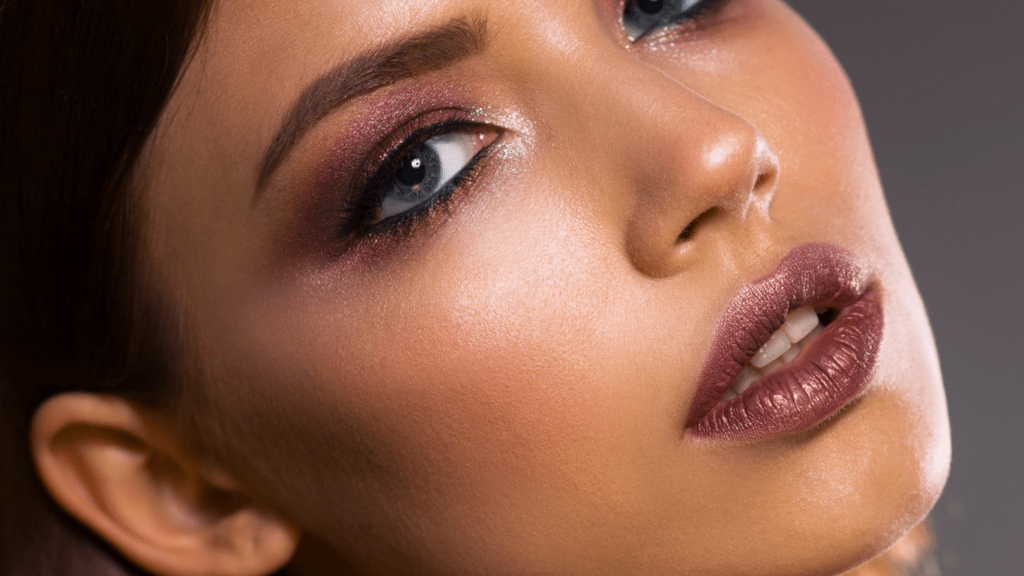
Adding Blush and Highlight
Adding blush restores color and warmth. I choose a shade that complements my contour, applying it on the apples of my cheeks and blending upwards. This creates a seamless transition between contour and highlight. For an added glow, I apply highlighter on the high points of my cheekbones, the bridge of my nose, and the cupid’s bow. This enhances the sculpted effect, giving a radiant finish.